My Media Build — Self-Hosted Homelab
TrueNAS · Docker · Home Assistant
Building a Smart Home Server,
One Stack at a Time
A no-fluff record of building a self-hosted home server on TrueNAS: a fully automated media stack, and Home Assistant running the smart home on top of it, from wall-tablet dashboards to a live 3D floor plan. Written as it was built, breakages included.
Media Server
Request a film or show and it lands in Plex on its own. The full arr stack, VPN’d downloads and secure remote access.
- Plex
- Radarr & Sonarr
- Gluetun VPN
- Cloudflare Tunnel
Home Automation
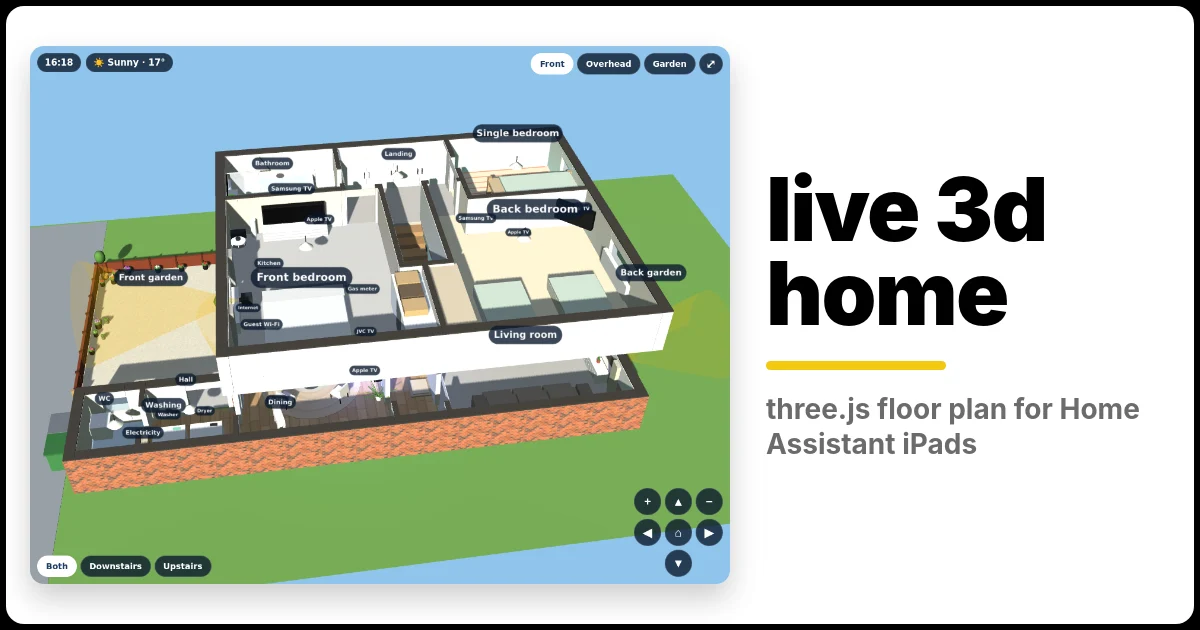
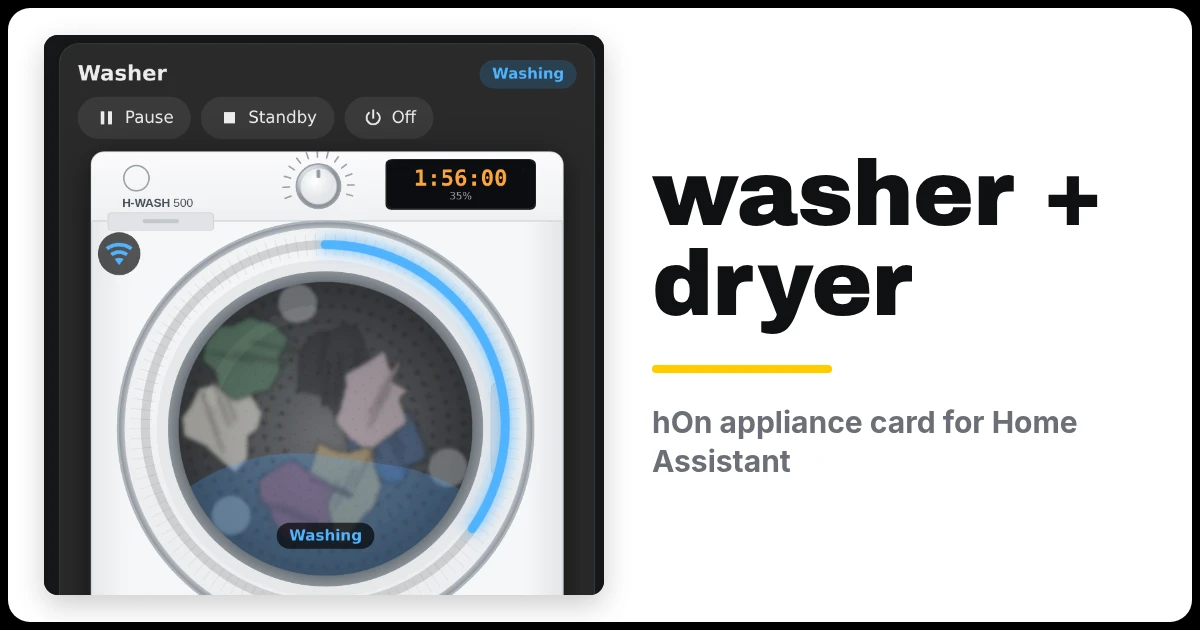
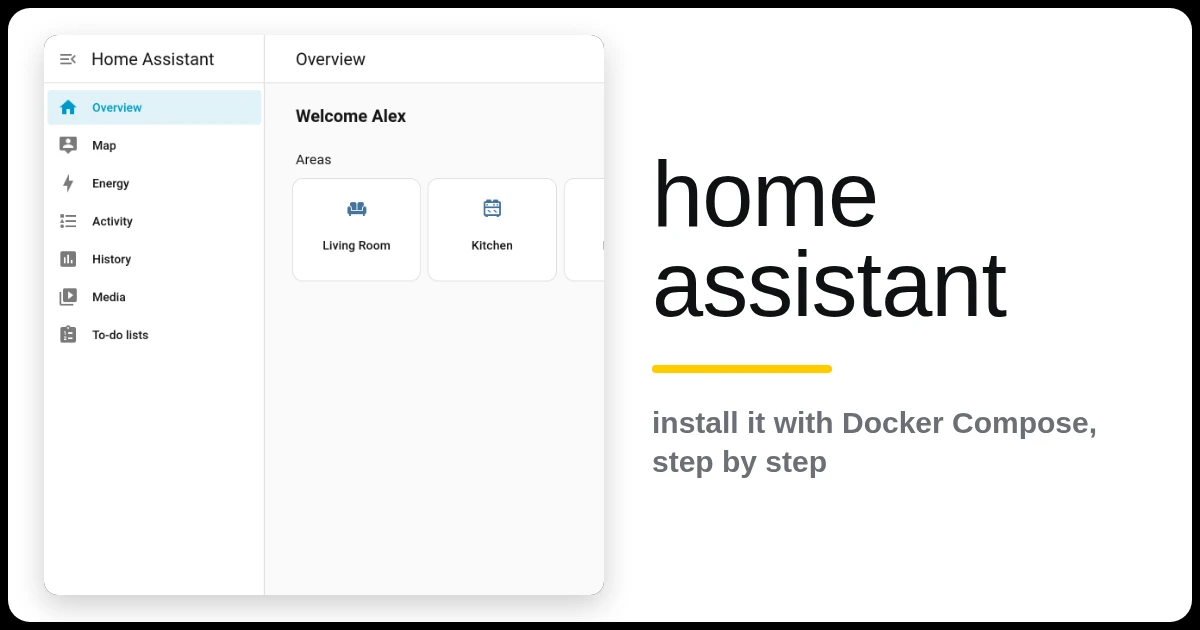
Home Assistant on the same server, with wall-tablet dashboards and custom cards for the things in your house.
- Home Assistant
- Custom cards
- Wall tablets
- Docker
Try it live
Interactive demos you can play with right in your browser.
Media Server Stack
Click a card for the full guide — hit Compose to jump straight to its docker-compose.yml.


▼
New step-by-step guides on the wayI’m rewriting every media server guide from scratch: one simple guide per app, each with a live demo and a compose generator. Gluetun and qBittorrent are first.
▼

Installing TrueNAS Community Edition
The foundation everything else in this build runs on
Minimum specs
- CPU: 64-bit x86 (or ARM on supported boards) — nothing exotic needed for a small home build
- RAM: 8GB absolute minimum, 16GB+ recommended if you’re running apps/containers alongside storage
- Boot device: 16GB+ USB flash drive or small dedicated SSD — don’t use it for storage/pool data
- Storage drives: at least one extra drive (or more, for redundancy) separate from the boot device
- Network: wired Gigabit Ethernet strongly recommended over Wi-Fi
Step-by-step installation
- Prepare the boot media: download the latest TrueNAS ISO, then use a flashing tool like BalenaEtcher to write the installer image to a USB flash drive.
- Boot the system: insert the USB into the intended server or PC, power it on, and press the designated hotkey (e.g. F2, F12, or Del) to enter your motherboard’s UEFI/BIOS. Disable Secure Boot and set the USB drive as the first boot option.
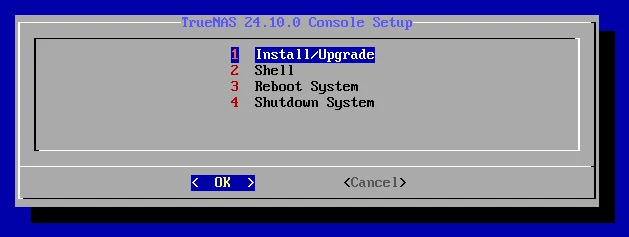
- Run the installer: once the system boots into the TrueNAS installer, select the Install/Upgrade option.
- Select destination media: choose the specific drive (e.g. a dedicated SSD) where the TrueNAS operating system will live. Warning: any data on this destination drive will be permanently erased.
- Set password: create a strong administrative password (the root account in Core, or the truenas_admin account in Scale/Community Edition), and choose to boot via UEFI or BIOS depending on your hardware support.
- Reboot and access the web GUI: let the installation finish, hit OK, and restart. Remove the USB installer drive so the system boots into the newly installed TrueNAS OS. Once it finishes booting, the console displays a network IP address (e.g. http://192.168.1.X).
- Complete setup: type that IP address into the web browser of any computer on your local network to reach the TrueNAS dashboard.